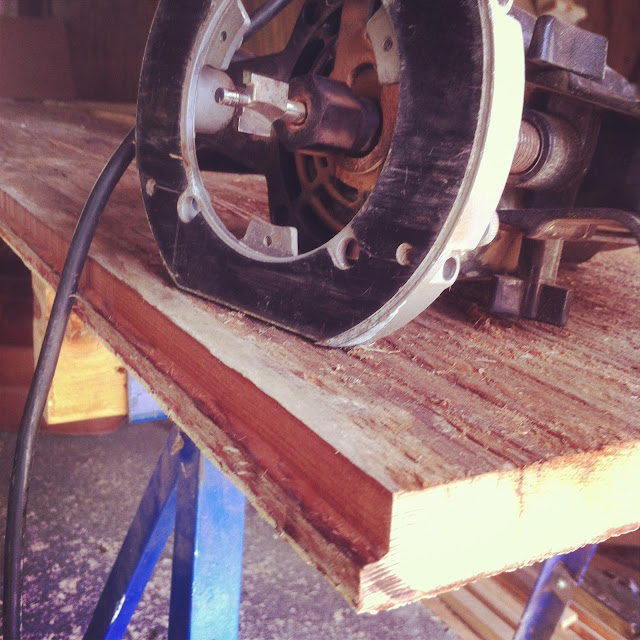
Oh, the motor well. Seems simple enough. Build a box that bolts to the back of the boat, upon which the motor clamps.
Ive been working on the motor well since the days of the Troublesome Skegs and before the Boat Flip.
Turns out that though this earns only a brief paragraph in the Glen-L Waterlodge instructions, it is really quite time consuming.


And though the motor well shows up on various views in the plans three times, it still leaves a lot of unspecified dimensions. Despite a lot of fancy maths including tangents and the Pythagorean theorem my first effort to suss out the missing dimensions and angles was a loose collection of mismatched angles and incorrectly cut two-by stock.

The challenge of the motor well is that there are few right angles, several that are very close, but not quite 90 degrees, several similar obtuse angles and some crazy acute angles. The difficulty lies in translating perfectly good angles and lengths to actual measurements and cuts.

My second attempt -- salvaging as much of the previously cut wood as I could -- discarded the mathematical approach and did it the way a carpenter would. Rather than cutting the two-by stock first, I marked out the known angles and measurements on plywood, solving the unknowns as I went along. I cut out the 5/8" plywood giving me a useful template that would be used for the sides of the motor well. Finally, I measured and marked the two-by members to match the template. Magic!

After fitting everything best I could, I epoxied everything together to give me two assembled sides to the motor well.


This was a logistical challenge similar to assembling the side stringers -- you want to align the two-by members facing up, but the screws need to go in from the other side. In this case, the motor well sides were small enough I could assemble the two-by members facing up on saw horses, then put a few screws in from the bottom to hold them together.

After that, I flipped them over and screwed the shit out of them. All done while everything -- drill, screws, wood, hands -- are covered in sticky goo. Fun!


I completely encapsulated the wood inside the motor well with epoxy to protect it from decay.

I know from experience assembling boxes, it is easy to discover in the end that youve created a parallelogram that doesnt fit your last side. How to prevent this?

I temporarily screwed the bottom on the motor well to square up the sides before assembling the rest of the box. Im using wax paper to prevent the epoxy from accidentally adhering the bottom. In fact, the bottom wont go on until after the motor well is already bolted on to the hull to allow me access to the bolts.

Now, I can go ahead and epoxy and screw on the back and the framing members.

We have to bolt this thing in with 5/8 carriage bolts no greater than six inches apart. Turns out thats a lot, really.

I marked the bolt holes and drilled from the outside of the motor well using a carpenters square to get holes perpendicular to the rake of the hull.

Sixteen bolts for this 2 foot square box hanging off the back of the boat.

The heads of some of the carriage bolts would fall on angled members, and so needed to be countersunk.

I needed to temporarily hang this thing so I can mark the bolt holes on the hull. I built a little support jig that took into account the missing bottom piece.

Here is the motor well on the boat. Fancy.

Using a wax china pencil, I marked the bolt holes for mounting the motor well.


It seemed like madness to drill 16 holes in my previously watertight boat hull. Soon, well finish the outside of the motor well and bolt it on.
Ive been working on the motor well since the days of the Troublesome Skegs and before the Boat Flip.
Turns out that though this earns only a brief paragraph in the Glen-L Waterlodge instructions, it is really quite time consuming.
And though the motor well shows up on various views in the plans three times, it still leaves a lot of unspecified dimensions. Despite a lot of fancy maths including tangents and the Pythagorean theorem my first effort to suss out the missing dimensions and angles was a loose collection of mismatched angles and incorrectly cut two-by stock.
The challenge of the motor well is that there are few right angles, several that are very close, but not quite 90 degrees, several similar obtuse angles and some crazy acute angles. The difficulty lies in translating perfectly good angles and lengths to actual measurements and cuts.
My second attempt -- salvaging as much of the previously cut wood as I could -- discarded the mathematical approach and did it the way a carpenter would. Rather than cutting the two-by stock first, I marked out the known angles and measurements on plywood, solving the unknowns as I went along. I cut out the 5/8" plywood giving me a useful template that would be used for the sides of the motor well. Finally, I measured and marked the two-by members to match the template. Magic!
After fitting everything best I could, I epoxied everything together to give me two assembled sides to the motor well.
This was a logistical challenge similar to assembling the side stringers -- you want to align the two-by members facing up, but the screws need to go in from the other side. In this case, the motor well sides were small enough I could assemble the two-by members facing up on saw horses, then put a few screws in from the bottom to hold them together.
After that, I flipped them over and screwed the shit out of them. All done while everything -- drill, screws, wood, hands -- are covered in sticky goo. Fun!
I completely encapsulated the wood inside the motor well with epoxy to protect it from decay.
I know from experience assembling boxes, it is easy to discover in the end that youve created a parallelogram that doesnt fit your last side. How to prevent this?
I temporarily screwed the bottom on the motor well to square up the sides before assembling the rest of the box. Im using wax paper to prevent the epoxy from accidentally adhering the bottom. In fact, the bottom wont go on until after the motor well is already bolted on to the hull to allow me access to the bolts.
Now, I can go ahead and epoxy and screw on the back and the framing members.
We have to bolt this thing in with 5/8 carriage bolts no greater than six inches apart. Turns out thats a lot, really.
I marked the bolt holes and drilled from the outside of the motor well using a carpenters square to get holes perpendicular to the rake of the hull.
Sixteen bolts for this 2 foot square box hanging off the back of the boat.
The heads of some of the carriage bolts would fall on angled members, and so needed to be countersunk.
I needed to temporarily hang this thing so I can mark the bolt holes on the hull. I built a little support jig that took into account the missing bottom piece.
Here is the motor well on the boat. Fancy.
Using a wax china pencil, I marked the bolt holes for mounting the motor well.
It seemed like madness to drill 16 holes in my previously watertight boat hull. Soon, well finish the outside of the motor well and bolt it on.